Post
Building OpenCV with CMake and MinGW-make for C++ in VS Code
18 Dec 2023 -
The following tutorial present the step to build and run a C++ program implementing OpenCV library in Windows 11.
1. Installing CMake
If you are using the x64 cpu:
https://github.com/Kitware/CMake/releases/download/v3.28.1/cmake-3.28.1-windows-x86_64.msi
Confirm the installation has done properly
1
2
# type this in your terminal
cmake --version

Add the cmake/bin to to your environment PATH
1
2
setx Path "%Path%;C:\Users\<username>\cmake\bin"
exit
2. Install MSYS2
Download the installer
https://github.com/msys2/msys2-installer/releases/download/2023-10-26/msys2-x86_64-20231026.exe
Follow the steps


Now MSYS2 is ready for you and a terminal for the UCRT64 environment will launch
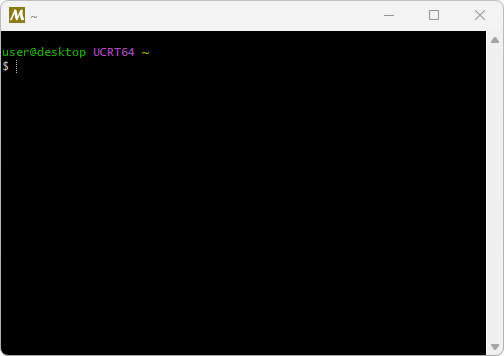
Open MSYS2 MinGW64

Install the mingw-w64 GCC
1
2
# type this in the msys2 mingw64 terminal
pacman -S mingw-w64-x86_64-toolchain
Add path to the system variables
1
2
3
# type this in your own shell(cmd)
setx Path "%Path%;C:\msys64\mingw64\bin"
exit
Check if the installations has done properly
1
2
3
# type this in your own shell(cmd)
mingw32-make --version
gcc --version
3. Create Project
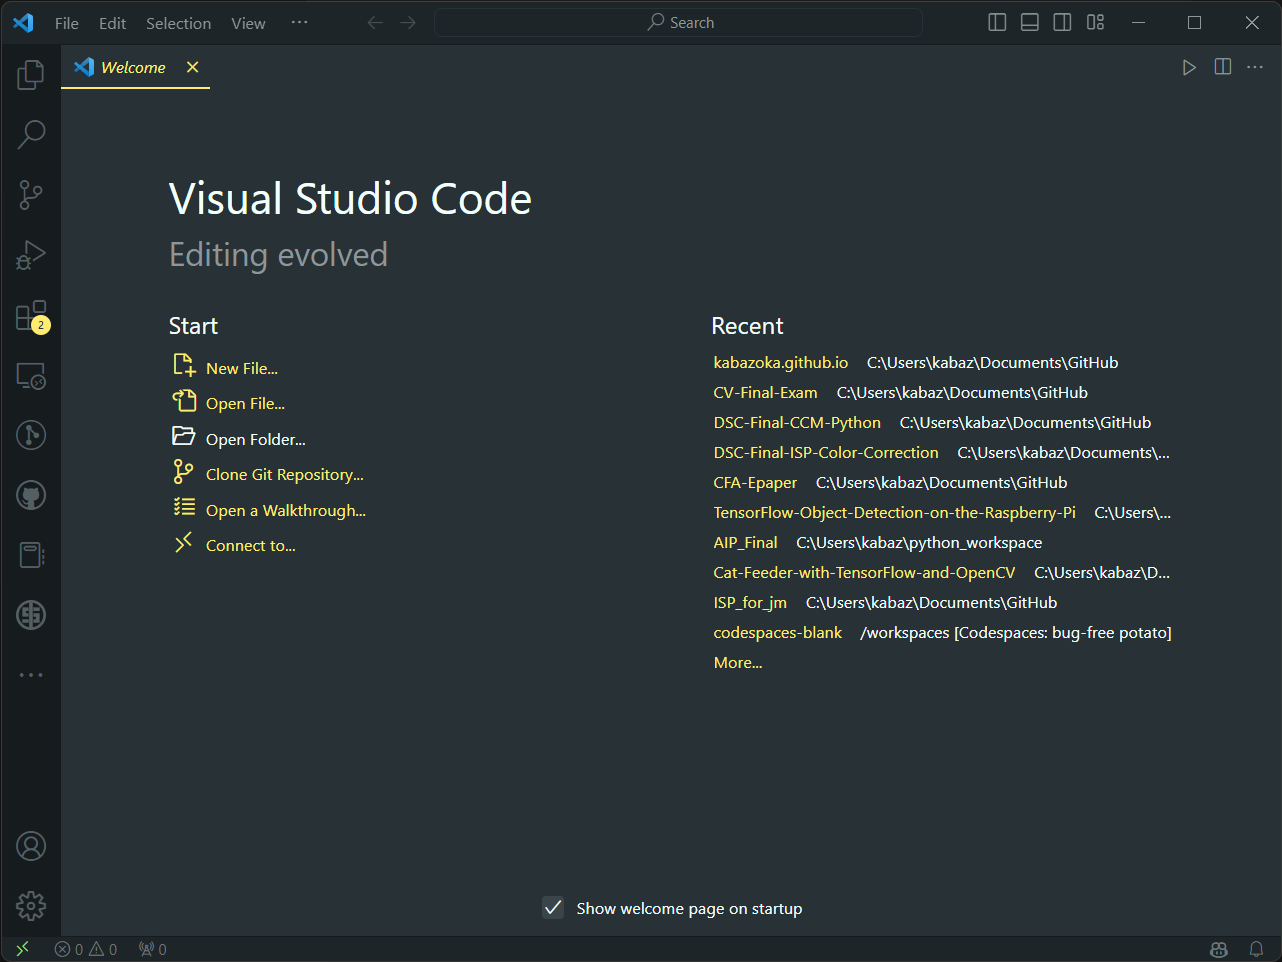
Open VS Code
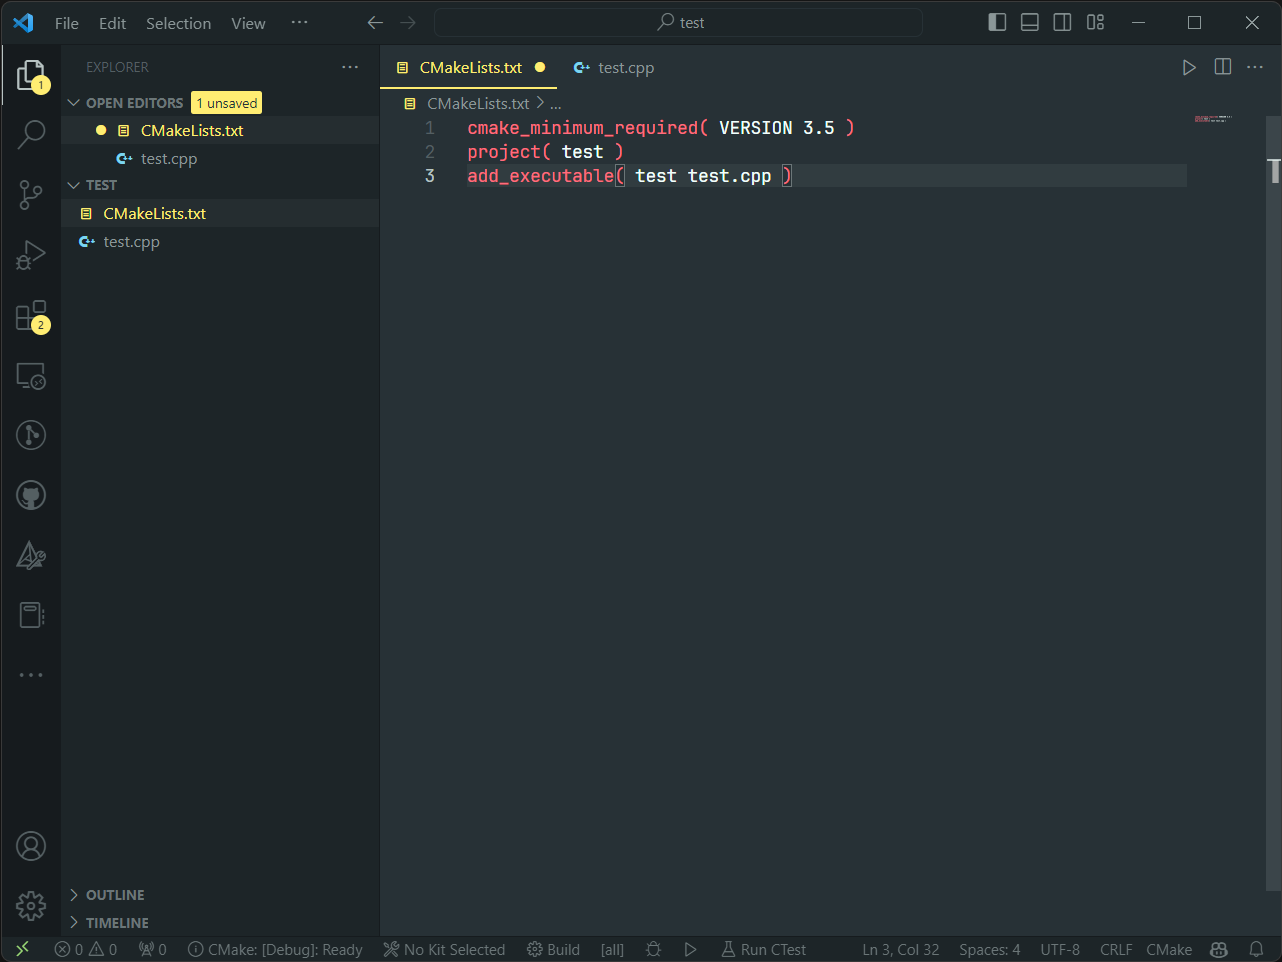
In your project, create CMakeLists.txt
1
2
3
cmake_minimum_required( VERSION 3.5 )
project( <your_project_name>)
add_executable( <your_project_name> <your_project_main.cpp> )
Configure Make files for your project
Open new terminal


1
2
3
4
5
6
# type this in your terminal
# should do this under your project folder,
# e.g. PS <your_project_path>>
mkdir build
cd build
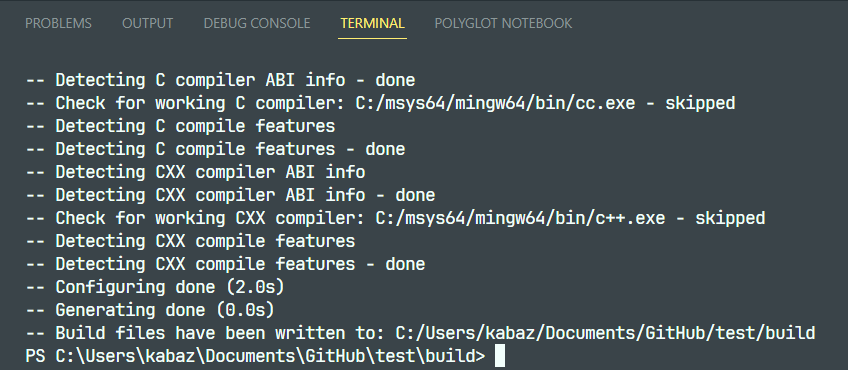
cmake -G "MinGW Makefiles" ..
If configured successfully, the output should looks like this:
Use make to build the C++ files
1
2
# type this under the project/build folder
mingw32-make
If built successfully, the output should looks like this:

Then execute your program:
1
.\<your_project>.exe

4. Compile OpenCV
Click on the Sources then unzip (Recommend to unzip in C:/)

Build OpenCV locally
Make directories
1
2
3
4
5
6
7
8
9
10
11
12
13
14
15
# in C:\opencv-4.8.0
# make files will be stored in mingw-build
mkdir mingw-build
# and compiled files will be stored here
mkdir build
cd mingw-build
# Create makefiles for mingw-make with cmake
cmake -G "MinGW Makefiles" C:\opencv-4.8.0 -DCMAKE_INSTALL_PREFIX=C:\opencv-4.8.0\build -DEBUILD_TESTS=OFF -DBUILD_PREF_TESTS=OFF
# Then compile (the parameter -j is to specify how many logic processors to run)
# I'm using i7-9700 which has 8 logic processors, so I used -j8 to make it faster
mingw32-make install -j8
# then set the path as environment variables
setx OpenCV_DIR " C:\opencv-4.8.0\build"
setx Path "%Path%: C:\opencv-4.8.0\build\x64\mingw\bin"
exit
Configure OpenCV for your project
1
2
3
4
5
6
7
8
9
# in your CMakeLists.txt
cmake_minimum_required( VERSION 3.5 )
project( <project_name> )

find_package( OpenCV REQUIRED )
include_directories( ${OpenCV_INCLUDE_DIRS} )

add_executable( <project_name> <project_main.cpp> )
target_link_libraries( <project_name> ${OpenCV_LIBS})
Include OpenCV header in your code
#include <opencv\opencv.hpp>